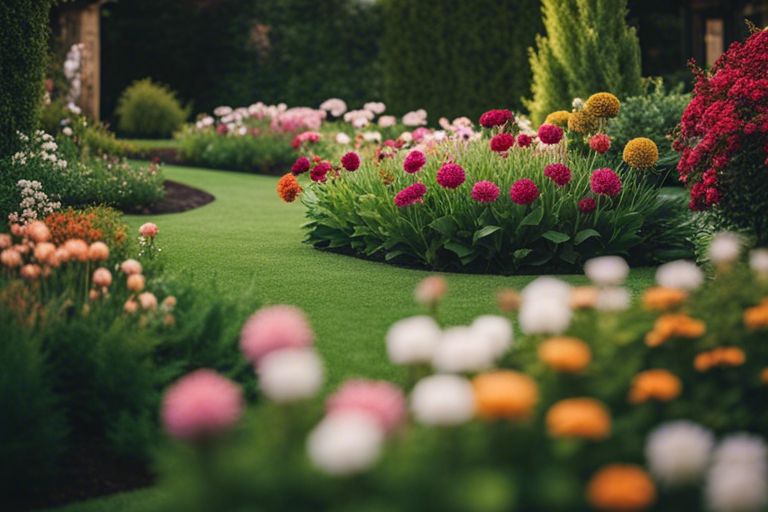
80 Best DIY Backyard Ideas to Transform Your Outdoor Space with Fun & Easy Projects

Are you looking for ways to spruce up your outdoor space? Check out these 80 best DIY backyard ideas that will transform your yard into a fun and inviting retreat!
From cozy seating areas to vibrant gardens, these projects are not only easy to tackle but will also add a personal touch to your backyard.
Whether you have a small patio or a sprawling garden, there’s something here for everyone.
So roll up your sleeves and get ready to unleash your creativity with these fun and simple projects that will make your outdoor area the envy of the neighborhood!
1. Create a Cozy Fire Pit Area
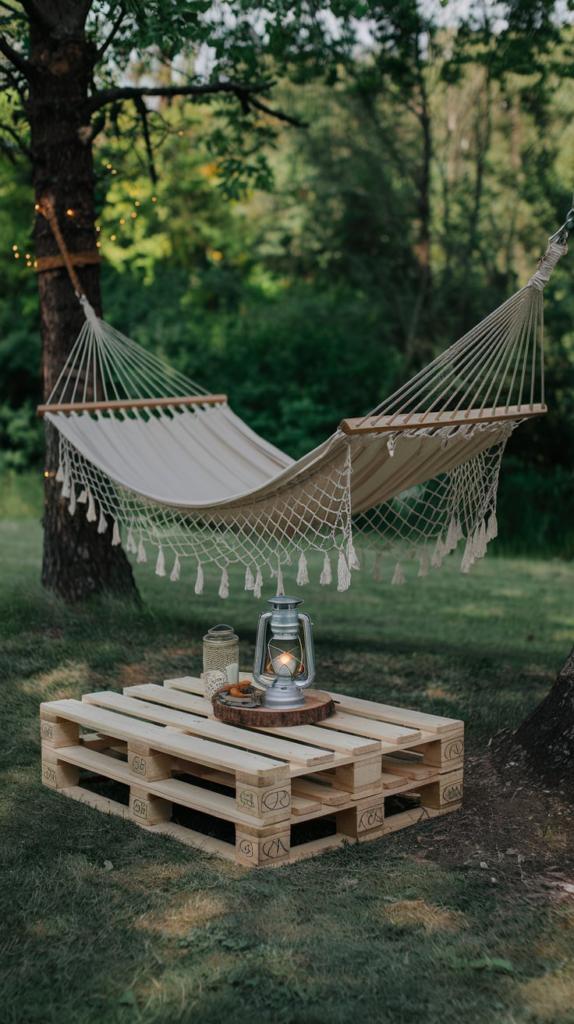
A fire pit area adds warmth and charm to your backyard. It’s perfect for gatherings, roasting marshmallows, or enjoying a quiet evening under the stars. Here’s how to create a cozy fire pit area.
Choose the Right Location
- Look for a flat, open space away from overhanging branches and structures.
- Ensure the area has good drainage to avoid flooding.
- Consider proximity to seating areas for easy access.
Select Your Fire Pit Style
- Portable Fire Pits: Easy to move and store. Great for small spaces.
- In-Ground Fire Pits: More permanent. Dig a hole, line it with stone or brick.
- Above-Ground Fire Bowls: Stylish and modern. Perfect for a contemporary look.
Gather Materials
- Fire Pit: Choose from stone, brick, or metal.
- Seating: Use outdoor furniture, benches, or even logs for a rustic feel.
- Accessories: Don’t forget blankets, pillows, and outdoor lighting like string lights or lanterns.
Create the Layout
- Mark the fire pit’s location with stakes and string.
- Dig a hole (if you’re going for an in-ground pit).
- Lay the base material. Use gravel for drainage.
- Stack stones or bricks to form the pit walls.
- Surround the fire pit with seating.
Safety First
- Keep a bucket of water or sand nearby.
- Use fire-resistant materials.
- Follow local regulations about open fires.
Add Personal Touches
- Decorate the area with potted plants or outdoor art.
- Install a small table for snacks and drinks.
- Use outdoor rugs to define the space and add comfort.
By following these steps, you’ll have a cozy fire pit area that invites relaxation and fun. Enjoy your outdoor space!
2. Build Your Own Garden Bed
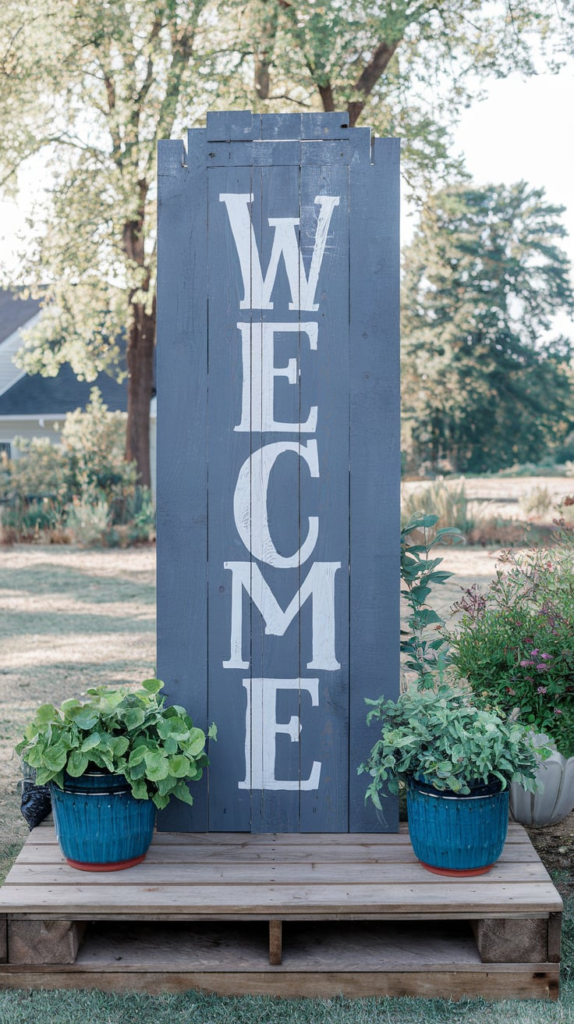
Building your own garden bed is a straightforward project that boosts your outdoor space. It provides a dedicated area for growing flowers, vegetables, or herbs. Here’s how to get started.
Materials Needed
- Wooden planks (cedar or redwood work best)
- Wood screws
- Drill
- Measuring tape
- Saw (hand saw or power saw)
- Level
- Landscape fabric (optional)
- Soil and compost
- Plants or seeds
Step-by-Step Guide
- Choose Your Location
Pick a spot that gets plenty of sunlight, ideally 6-8 hours a day. - Decide on Size
A common size is 4 feet by 8 feet, but you can customize based on your space. Keep the height around 12 to 18 inches. - Cut the Wood
Measure and cut your wooden planks to create the sides of the bed. For a 4×8 bed, you need two 4-foot pieces and two 8-foot pieces. - Assemble the Frame
Position the wooden pieces in a rectangle. Use wood screws to secure the corners. - Level the Ground
Ensure the area is level. Adjust the height of the bed if necessary. - Add Landscape Fabric
Lay down landscape fabric at the bottom to prevent weeds from coming through. This step is optional but helps with maintenance. - Fill with Soil
Mix good-quality soil with compost. Fill the bed to the top, leaving a little space for watering. - Plant Your Favorites
Choose plants or seeds based on your climate and preferences. Follow the planting instructions for spacing and depth.
Tips for Success
- Drainage: Make sure your bed allows for proper drainage. If it rains a lot, consider adding some holes at the bottom.
- Maintenance: Regularly check for weeds and pests. Mulching helps keep weeds down and retains moisture.
- Seasonal Rotation: Rotate your crops each season to keep the soil healthy.
Building a garden bed not only enhances your backyard but also gives you a rewarding gardening experience. Grab your tools and get started!
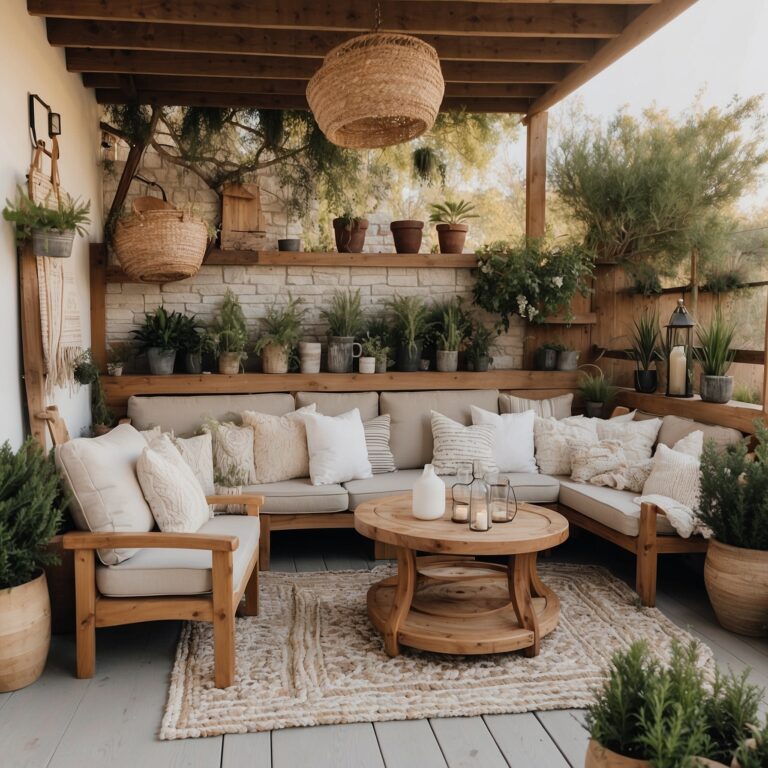
3. DIY Outdoor Lounge Furniture
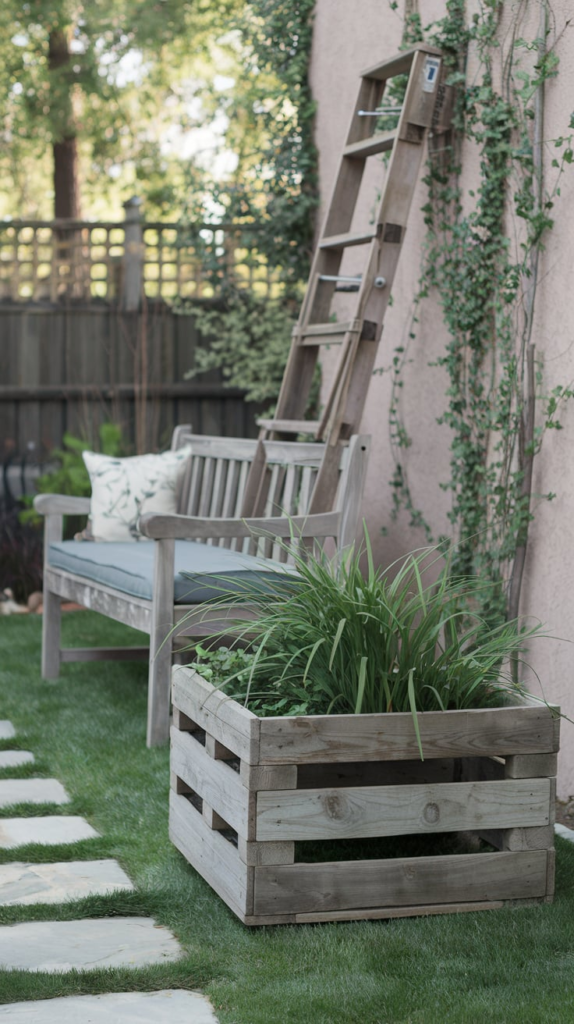
Creating your own outdoor lounge furniture can elevate your backyard vibe without breaking the bank. Here are some fun and easy projects to get you started.
Pallet Sofa
- Materials Needed:
- Wooden pallets
- Sandpaper
- Outdoor cushions
- Outdoor paint (optional)
- Steps:
- Sand the pallets to remove any rough edges.
- Stack two or three pallets on top of each other for the backrest.
- Use one or two pallets for the seat.
- Paint the pallets if you want a pop of color.
- Add outdoor cushions for comfort.
Cinder Block Bench
- Materials Needed:
- Cinder blocks
- Wooden boards (for the seat)
- Outdoor sealant
- Steps:
- Arrange cinder blocks in a U-shape.
- Place wooden boards on top to create the seat.
- Apply outdoor sealant to protect the wood from the elements.
Hanging Chair
- Materials Needed:
- A sturdy tree branch or beam
- Thick rope
- A comfortable cushion or hammock seat
- Steps:
- Choose a strong branch that can support weight.
- Cut two equal lengths of rope.
- Tie one end of each rope to the cushion and the other to the branch.
- Ensure the chair hangs at a comfortable height.
DIY Fire Pit Seating
- Materials Needed:
- Logs or large stones
- Outdoor cushions
- Steps:
- Arrange logs or stones in a circle around your fire pit.
- Add outdoor cushions for a cozy seating area.
- Ensure the seating is at a safe distance from the fire.
With these DIY projects, you can easily create a stylish and comfortable outdoor lounge area. Enjoy the fresh air and good times with friends and family.
4. Install a Pergola for Shade
Installing a pergola adds style and shade to your backyard. It creates a cozy spot to relax, entertain, or enjoy family time. Here’s how to tackle this fun project.
Materials Needed
- Wood or Vinyl: Choose pressure-treated lumber, cedar, or vinyl for durability.
- Concrete: For securing the posts.
- Screws and Nails: Make sure they’re weather-resistant.
- Paint or Stain: Optional, but it enhances the look and protects the wood.
- Tools:
- Drill
- Saw
- Level
- Measuring tape
- Safety gear
Steps to Build Your Pergola
- Pick the Location: Choose a spot that gets some sun but also needs shade.
- Measure and Mark: Decide on the size of your pergola. Mark the corners with stakes and string.
- Dig Holes for Posts: Dig holes about 2-3 feet deep for stability.
- Set the Posts: Place the posts in the holes. Use concrete to secure them and ensure they’re level.
- Attach Beams: Connect the beams across the top of the posts. Use screws for a secure fit.
- Add Lattice or Slats: For more shade, add lattice or horizontal slats. This allows some sunlight while providing coverage.
- Finish Up: Consider painting or staining your pergola for added protection and style.
Tips for a Successful Pergola
- Consider Size: A larger pergola provides more shade and a more inviting space.
- Add Vines: Plant climbing vines around your pergola for natural shade and beauty.
- Lighting: Install string lights or lanterns for ambiance in the evenings.
- Furniture: Place outdoor furniture underneath for a comfy gathering spot.
Building a pergola can be a rewarding DIY project. Enjoy your new shaded oasis!
5. Transform Your Fence with Art
Your fence doesn’t have to be just a boundary. It can become a canvas for creativity. Here are some fun and easy ways to transform your fence into a work of art.
1. Paint It Up
- Bright Colors: Use bold colors to make your fence pop.
- Patterns: Try stripes, polka dots, or geometric shapes for a playful touch.
- Mural: Get creative with a mural that reflects your personality or interests.
2. Add Wall Planters
Turn your fence into a vertical garden. Wall planters bring greenery up to eye level.
- Containers: Use wooden boxes, metal buckets, or repurposed items.
- Plants: Choose flowers, herbs, or succulents for a vibrant look.
3. Hang Artwork
Display art pieces to add character.
- Framed Art: Use weatherproof frames for paintings or prints.
- DIY Projects: Create your own art using wood, metal, or fabric.
- Seasonal Swaps: Change the artwork for different seasons or holidays.
4. Use String Lights
Add ambiance with string lights.
- Installation: Hang them along the top of the fence or wrap them around posts.
- Themes: Use colored lights for parties or soft white lights for a cozy feel.
5. Create a Photo Wall
Capture memories with a photo wall.
- Clips: Use clothespins or clips to hang photos along twine or wire.
- Frames: Attach small frames for a more polished look.
Bonus Tip: Incorporate Natural Elements
Mix art with nature.
- Wooden Sculptures: Carve or buy wooden figures to add dimension.
- Mirror Reflections: Hang mirrors to create the illusion of space and light.
Transforming your fence with art brings life to your backyard. Whether you go for paint, plants, or personal touches, your outdoor space will shine with creativity.
6. Make a Water Feature
Adding a water feature to your backyard can create a peaceful atmosphere and attract wildlife. You don’t need to hire professionals to get the job done. Here are some fun and easy DIY ideas to get you started:
1. Pond
- Choose a spot with partial sunlight.
- Dig a hole in your desired shape and size.
- Line the hole with a pond liner.
- Fill it with water and add aquatic plants.
- Consider adding fish for extra charm.
2. Fountain
- Gather materials like a large pot, a small submersible pump, and stones.
- Place the pump in the pot and cover it with stones.
- Fill the pot with water and plug in the pump.
- Adjust the flow for the perfect splash.
3. Mini Waterfall
- Use stacked rocks or bricks to create a tiered effect.
- Dig a small basin at the bottom to collect water.
- Install a pump to recirculate water from the basin to the top.
- Add plants around the waterfall for a natural look.
4. Birdbath
- Find a shallow bowl or dish.
- Elevate it on a pedestal or stack of bricks.
- Fill with fresh water and place in a sunny spot.
- Decorate with pebbles or flowers for added beauty.
5. Rain Barrel
- Set up a rain barrel under a downspout to collect rainwater.
- Use the water for your garden.
- Decorate the barrel with paint or plants to match your style.
6. DIY Water Wall
- Use a large piece of wood or a repurposed door.
- Attach a small water pump at the top.
- Allow water to flow down the wood, creating a relaxing effect.
- Add plants at the base for a lush look.
These DIY water features can enhance your backyard’s charm and provide a serene escape. Whether you prefer the sound of trickling water or a vibrant pond, these projects can transform your outdoor space into a tranquil oasis. Get creative and enjoy the process!
7. Craft Unique Planters
Transform your backyard with unique planters that add character and style. You can use everyday materials to create eye-catching designs. Here are some fun ideas:
1. Wooden Crates
- Stack wooden crates for a rustic look.
- Paint them in bright colors for a pop of personality.
- Fill with herbs or flowers to create a mini garden.
2. Old Tires
- Clean and paint old tires.
- Stack them or hang them for a vertical garden.
- Fill with soil and plant colorful flowers or vegetables.
3. Mason Jars
- Use mason jars for small plants or herbs.
- Hang them on a fence or arrange them on a shelf.
- Add some twine or ribbon for extra charm.
4. Wine Bottles
- Cut wine bottles in half for unique planters.
- Fill the bottom half with soil and your favorite plants.
- Use the top half as a decorative cover or pour spout.
5. Repurposed Furniture
- Turn an old dresser into a planter by removing drawers.
- Fill each drawer with soil and plant flowers.
- This adds height and interest to your garden.
6. Cinder Blocks
- Use cinder blocks to create a modern planter.
- Stack them in various configurations.
- Fill holes with soil and plant succulents or herbs.
7. Colanders
- Find an old colander and use it as a planter.
- Drill holes for drainage if needed.
- Fill with soil and colorful flowers for a whimsical touch.
Get creative with your planters. Mix and match styles and materials to make your backyard truly one-of-a-kind. The sky’s the limit when it comes to crafting unique planters that reflect your personality. Happy planting!
8. Set Up a DIY Outdoor Kitchen
Creating a DIY outdoor kitchen can elevate your backyard experience. It allows you to cook, entertain, and enjoy meals outside. Here’s how to get started.
Choose Your Location
Find a spot that gets a good amount of shade and is close to your home for easy access to supplies. Consider the following:
- Proximity to indoor kitchen: Easy access to ingredients and tools.
- Access to utilities: Water and electricity make cooking easier.
- Sun or shade: Decide if you want a sunny spot or a shaded area.
Basic Essentials
You don’t need to go all out. Here’s a list of essentials for your outdoor kitchen:
- Grill: A charcoal or gas grill is a must-have.
- Counter Space: Use a sturdy table or build a countertop for prep work.
- Storage: Cabinets or shelves keep utensils and supplies organized.
- Sink: A small sink helps with washing hands and cleaning dishes.
- Refrigerator: A mini fridge keeps drinks and perishable items cool.
Fun Additions
Want to make it even better? Consider these fun extras:
- Pizza Oven: Impress your friends with homemade pizza.
- Bar Area: Set up a spot for drinks and snacks.
- Lighting: String lights or lanterns create a cozy atmosphere.
- Seating: Add some comfortable chairs or a bench for guests.
DIY Ideas
Get creative with your setup. Here are some DIY projects you can tackle:
- Build a Pergola: Create shade and a stylish look.
- Construct a Fire Pit: Perfect for evening gatherings.
- Install a Backsplash: Use tiles or reclaimed wood for a personal touch.
Stay Within Budget
Keep costs down by repurposing materials. Check for second-hand items or use pallets for furniture. Enjoy the process of building your outdoor kitchen. With a little effort, you can create a fantastic space for cooking and entertaining.
9. Create a Pathway with Pavers
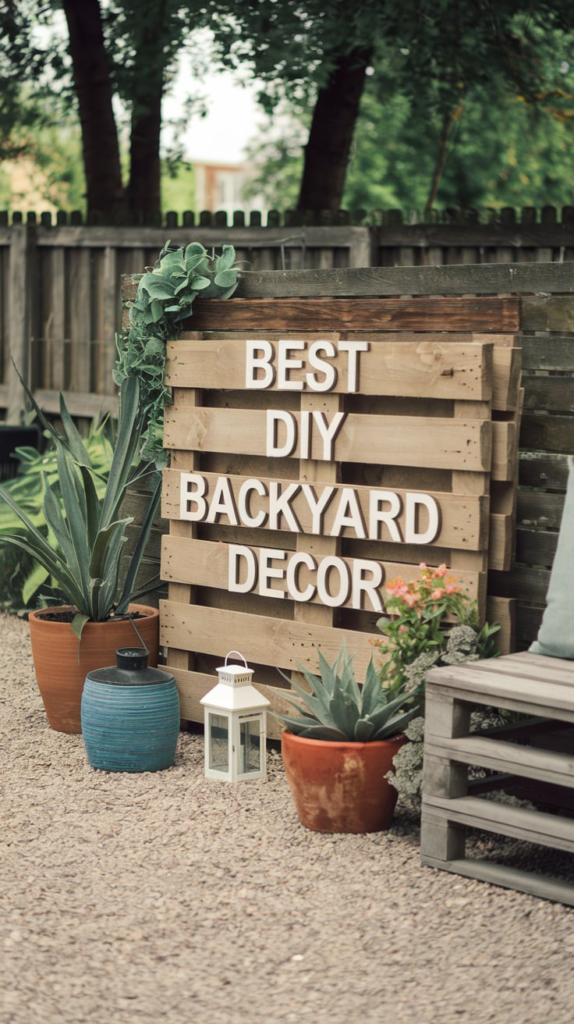
A pathway made of pavers adds charm and functionality to your backyard. It guides guests through your outdoor space and enhances your garden’s aesthetic. Plus, it’s a fun DIY project that you can tackle in a weekend.
Materials Needed
- Pavers (choose your preferred style and color)
- Landscape fabric
- Sand or gravel for base
- A shovel
- A level
- A rubber mallet
- A broom
Steps to Create Your Pathway
- Plan Your Path
Decide where your pathway will go. Sketch out the design on paper. Consider curves for a natural look or straight lines for a modern vibe. - Clear the Area
Remove grass, weeds, and debris from your designated path. Dig down about 4-6 inches to create a solid base. - Lay Landscape Fabric
Place landscape fabric to prevent weeds from growing through your pathway. Cut it to fit the cleared area and secure it with landscape staples. - Add Base Material
Pour a layer of sand or gravel over the fabric. This layer should be about 2-3 inches thick. Use a level to ensure a flat surface. - Place the Pavers
Start laying the pavers along your path. Leave a small gap between each paver for a neat finish. Use a rubber mallet to tap them down for a snug fit. - Fill Gaps
After placing all the pavers, fill the gaps with sand or gravel. Sweep the material into the spaces until they’re packed tight. - Level It Out
Double-check that all pavers sit evenly. Adjust as needed, using your level to keep everything straight. - Final Touches
Rinse the pathway to remove excess sand. If desired, add edging stones or plants along the sides for extra flair.
Tips
- Mix different paver types for a unique look.
- Use a pattern to spice up the design.
- Consider incorporating lighting along the path for evening ambiance.
Creating a paver pathway transforms your backyard into an inviting space. It’s practical and adds a personal touch to your outdoor area. Enjoy your new walkable art!
10. Hang String Lights for Ambiance
String lights instantly elevate your backyard vibe. They create a cozy atmosphere perfect for gatherings or quiet nights under the stars. Here’s how to do it right.
Choose the Right Type of Lights
- Bulb Style: Go for vintage Edison bulbs for a warm glow. If you prefer a modern look, try globe lights.
- Color Options: Warm white creates a relaxing feel. For a fun twist, use colored lights or twinkling options.
- Length and Spacing: Measure your space. Aim for lights that are 10 to 25 feet long, depending on your layout.
Decide on Hanging Locations
- Trees: Use sturdy branches. Drape lights loosely for a whimsical effect.
- Patio or Deck: Hang lights along the edges or overhead. Consider using hooks or clips for easy installation.
- Fences: Attach lights along the top rail for an inviting border.
Installation Tips
- Gather Your Tools: You’ll need hooks, clips, or zip ties. A ladder and an extension cord make the job easier.
- Safety First: Check that your lights are rated for outdoor use. Ensure connections are secure and weatherproof.
- Create Patterns: Get creative! You can make straight lines, zigzags, or even a canopy effect.
Lighting Effects
- Layering: Combine string lights with other lighting elements like lanterns or candles for depth.
- Dimmer Switch: Install a dimmer for adjustable brightness. Set the mood based on the occasion.
Maintenance
- Check Regularly: Inspect lights for any damage or burned-out bulbs. Replace as needed.
- Store Properly: During off-seasons, store lights in a cool, dry place to prolong their life.
Hanging string lights is an easy and fun project. It transforms your outdoor area into a magical retreat. Enjoy your backyard like never before!
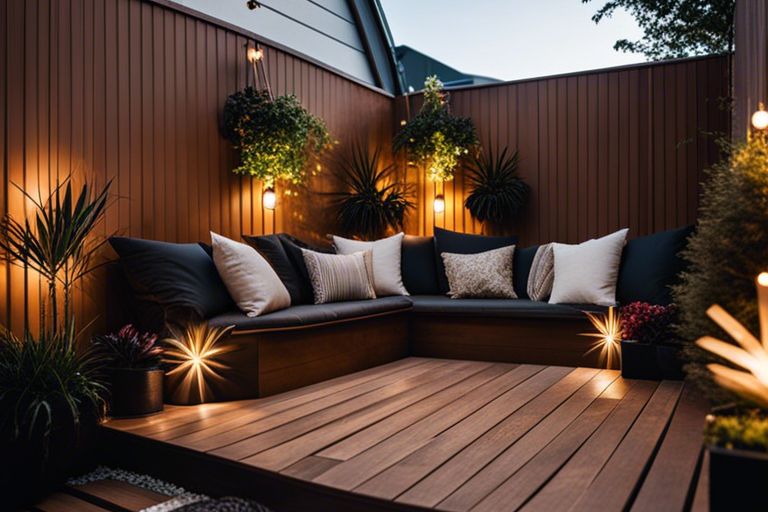
11. Build a Raised Deck
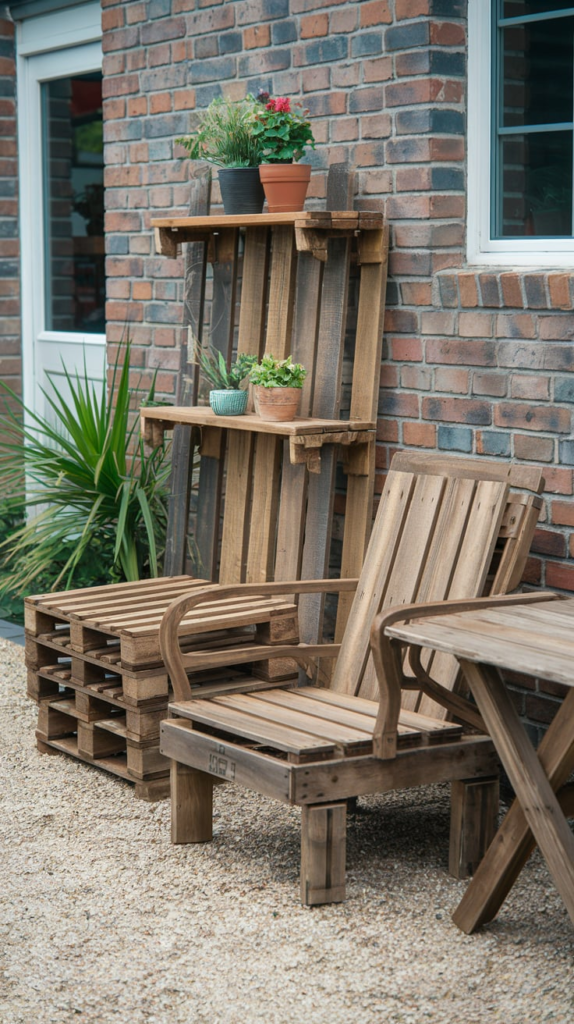
A raised deck can elevate your backyard’s style and functionality. It’s the perfect spot for lounging, entertaining, or enjoying your morning coffee. Building one may sound daunting, but with the right approach, you can tackle it with ease. Here’s how to get started.
Materials Needed
- Pressure-treated lumber
- Decking boards
- Concrete blocks or piers
- Deck screws
- Level
- Drill
- Saw
- Measuring tape
Steps to Build Your Raised Deck
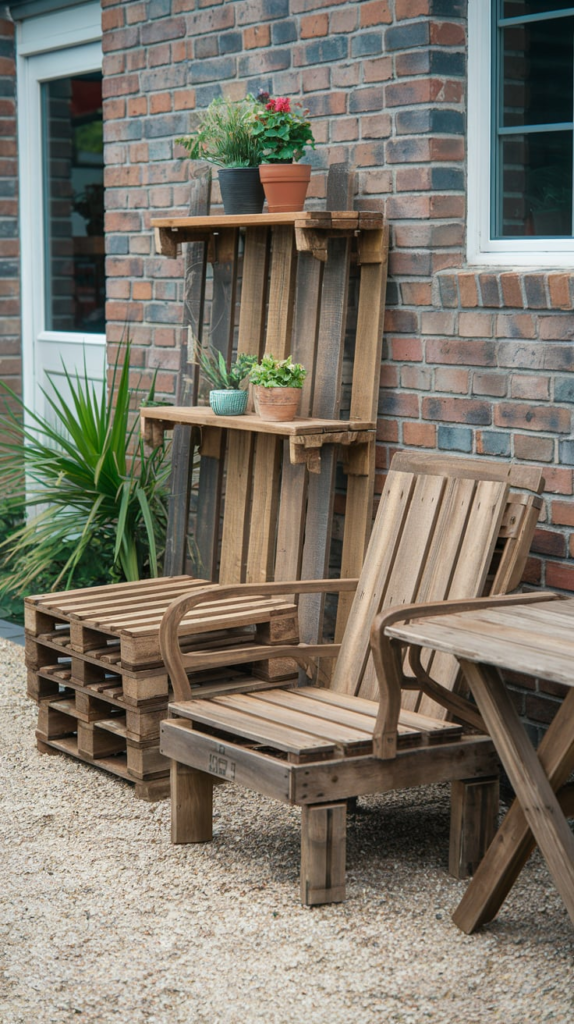
- Choose a Location
Pick a flat area in your yard. Make sure it’s away from trees that might drop leaves or sap. - Design Your Deck
Sketch your design. Decide on the size and shape. A simple rectangular deck works well for beginners. - Gather Your Materials
Buy the necessary materials from your local hardware store. Look for quality lumber to ensure durability. - Prepare the Ground
Clear the area of grass, rocks, and debris. Level the ground to create a stable base. - Set the Foundation
Use concrete blocks or piers. Place them at the corners and along the edges based on your deck’s size. Check for level. - Build the Frame
Cut the pressure-treated lumber to size. Assemble the frame by securing the pieces with deck screws. Make sure everything is square. - Attach Decking Boards
Lay the decking boards perpendicular to the frame. Leave small gaps for drainage. Secure each board with screws. - Add Railings (Optional)
If your deck is more than a couple of feet off the ground, consider adding railings for safety. Use similar lumber and attach securely. - Finish Up
Sand any rough edges. Apply a weather-resistant stain or sealant to protect your deck from the elements.
Maintenance Tips
- Clean your deck regularly to prevent mold and mildew.
- Reapply sealant every couple of years to maintain its integrity.
- Inspect for loose boards or screws and fix them promptly.
A raised deck transforms your outdoor space into a cozy retreat. It adds value to your home while providing a great place to relax and enjoy the outdoors.
12. Design Your Own Outdoor Games
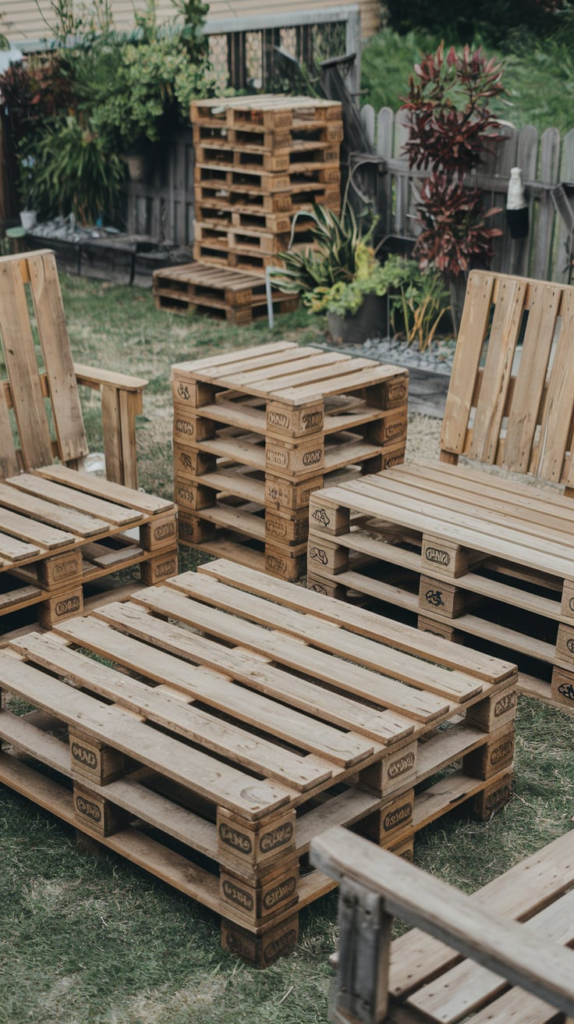
Creating your own outdoor games adds a fun twist to backyard hangouts. You can tailor the games to fit your space, your interests, and the age group of your guests. Here are some ideas to get you started:
1. DIY Cornhole
- Materials Needed: Plywood, 2x4s, paint, bean bags
- Instructions:
- Cut plywood into two boards (2′ x 4′).
- Create holes (6″ diameter) in the center of each board.
- Build frames with 2x4s for support.
- Paint and decorate the boards as you like.
- Make or buy bean bags to toss.
2. Giant Jenga
- Materials Needed: 2×4 lumber
- Instructions:
- Cut 2x4s into 10.5″ blocks (54 blocks total).
- Stack them in rows of three, alternating directions.
- Play by removing one block at a time without toppling the tower.
3. Ring Toss
- Materials Needed: Wooden stakes, rope rings
- Instructions:
- Drive wooden stakes into the ground.
- Create rope rings using thick rope or hula hoops.
- Set a distance for tossing and see who scores the most points.
4. Bocce Ball
- Materials Needed: Bocce balls or any round balls, a smaller target ball
- Instructions:
- Set up a playing area (grass, gravel, or sand).
- Toss the smaller target ball first.
- Players take turns trying to get their balls closest to the target.
5. Water Balloon Toss
- Materials Needed: Water balloons
- Instructions:
- Fill several balloons with water.
- Pair up players and stand a few feet apart.
- Toss a balloon back and forth, taking a step back after each successful catch.
6. DIY Twister
- Materials Needed: Large plastic sheet, paint or spray paint
- Instructions:
- Lay the plastic sheet on the ground.
- Use paint to create circles in four colors, spaced evenly.
- Follow the classic Twister rules for a fun challenge.
Designing your own games not only entertains but also encourages creativity. Plus, you’ll create lasting memories while enjoying the great outdoors!
Conclusion
Transforming your backyard doesn’t have to break the bank or require extensive renovations. With these 80 DIY projects, you can easily add personality and functionality to your outdoor space. Whether you choose to build a cozy fire pit, create a stunning garden bed, or craft your own outdoor furniture, each project offers a unique way to enhance your backyard experience.
Embrace your creativity and dive into these fun and easy projects. Enjoy the satisfaction of building something yourself and watch as your backyard transforms into a personal oasis. Gather your tools, invite some friends, and get started on making your outdoor space a true reflection of you. Happy crafting!

